

Clarified Coffee
This post contains affiliate links: As an Amazon Associate I may earn a commission from qualifying purchases at no additional cost to you.
Clarified coffee? The how and why…
I began this experiment in the hopes of making a perfectly clear espresso martini and if you haven’t seen that video, please give it a look with the link below. For this clarification I tried using agar agar, whole milk, charcoal filtering, and also a combination of these techniques to get the most clear and colorless coffee at home, without the use of any special equipment. In fact one of the final tools I used was something you probably already have laying around, or could easily pick up at any grocery store or pharmacy.
You’ll need the following equipment:
Ingredients:
Cold Brew Coffee
Whole Milk
Citric Acid
Most of these techniques will work to give you clear coffee, however there will always be some pigment left. I think there’s a big misconception when we talk about clarifying cocktails to mean that they need to be colorless, which is not the case. Clarifying something means it is transparent and without cloudiness. We’re going to accomplish this and then take it one step further to remove the color. And I know what you’re thinking: why do this? Well I love a fun and challenging experiment. And honestly, because it is pretty satisfying to see something as dark as coffee transformed into something that resembles water, while still retaining some of its original flavors.

The first technique i used was clarifying using agar agar. Ive used this method before in my serendipity video where i made clarified passionfruit juice. The agar causes the liquid to form into a gel, which traps the solids of the liquid, Then you can lightly squeeze, or let it melt through a filter, and you will be left with a clear liquid.
First I will pull 2 shots of espresso. Once it’s finished, I’ll weigh it out on a kitchen scale. Minus the weight of the glass this gave me about 51g of espresso.
Then I will weigh out 0.02% of that weight in agar agar powder. I’ll add the agar agar to a pot with a small amount of water, I used about a 1/4 cup. I’ll whisk this together and let it come to a boil for 2 minutes.
From there, I added the gel to my espresso and stirred until it was well combined.
I put this mixture into a container in the refrigerator for a few minutes to firm up into a gel. Agar is great that it can gel at fairly high temperatures as compared to something like gelatin. Once it’s gelled, I”ll break it up a bit and place it into a coffee filter over a pitcher to collect the clarified coffee. The gel will gradually melt, and all the cloudy bits will stay trapped in the gel.

It’s a bit hard to tell because the coffee is still very dark, but it did yield a very clear final product. It actually has a cleaner taste, and you can still get all of the delicious chocolatey and bitter notes from the coffee. However, it was too dark and it seemed like a different clarification process was necessary.
Next I tried milk clarification. For this first milk clarification process, I first tried using espresso. I pulled two shots and it became clear pretty quickly that there just isn’t enough water content to get the kind of clarity I was after. Simply adding water would’ve diluted the flavors so I needed something else that was concentrated enough and still had a sizable liquid component: enter the cold brew.

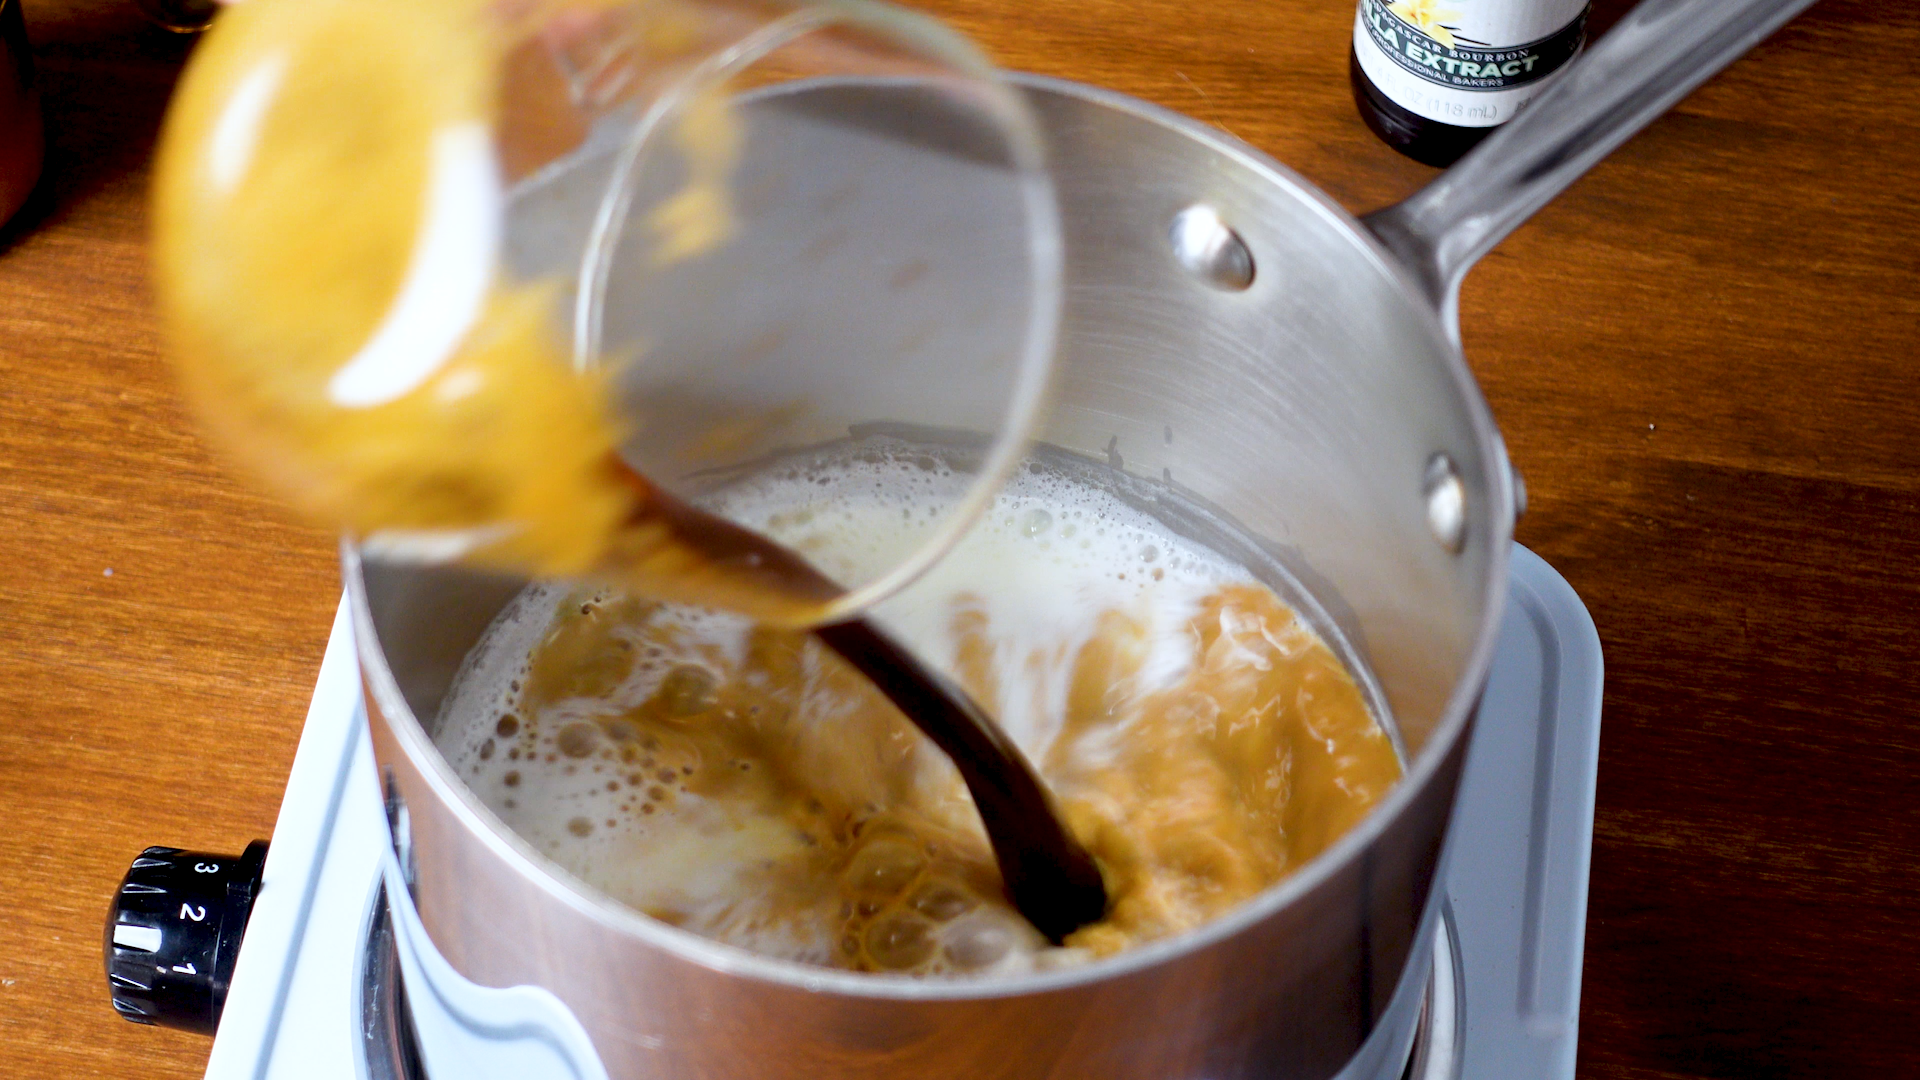
This is one of those nitro cold brews - I’ll be using plain cold brew as well in a little bit. For this process I’m going to be using 1 cup of whole milk, 1 can of nitro cold brew, some vanilla extract and some citric acid.

I added 1 cup of whole milk to a saucepan over medium heat. once it starts to get steamy, I will begin whisking to keep the milk from scalding. Once it starts to boil, I’ll turn off the heat and add a pinch of citric acid to break the curds from the whey. Citric acid is a great alternative to using lemon or lime juice, because it has a very neutral taste, it wont add any flavor to the finished product, but just a pinch is enough to break the curds from they whey. Then I’ll add in my can of cold brew., and finally 1 tsp of vanilla extract. I added the vanilla extract to add a bit more tannins and flavor to the final product since the curds will strip away a lot of the flavor. I whisked all of this together, then let cool to room temperature.

I like to transfer this to a measuring glass or something that has a spout to make it easier to slowly pour. I poured this through a 200 micron nut milk bag. This first pour is going to run pretty murky as the milk curds need to settle in the bottom of the bag. Then swapped out my bowl, poured it back into the glass and continued to cycle it through until the coffee mixture came out clear. Always be sure to pour the liquid slowly so as to not jostle the curds too much. Otherwise you will break them and increase the cloudiness and slow the clarification process.
As you can tell, the milk clarification did a much better job of removing the pigment from the coffee, but the final product was still quite dark and somewhat cloudy.

Once I could tell that was as clear as it was going to get, I turned to the next method- activated charcoal. The activated charcoal filter will adsorb any impurities in the liquid including pigment, and some of the more volatile chemical compounds- leaving the clear water-like liquid.

Instead of starting from scratch, I used the milk clarified nitrous cold brew coffee and added 2 capsules of activated charcoal to it and stirred to combine. This needs to only sit for 5 minutes for the activated charcoal to work its magic, but I let mine sit for a while longer.
And if you looked closely at the top you could see clear coffee sitting just at the surface. I was really excited to see if this was actually going to work.
After the mixture has sat for awhile, I stacked 2 coffee filters to extract the coffee from the charcoal- unfortunately, the filters I had just weren’t fine enough. I stacked a couple more and poured in slowly but still no luck. I even tried a different kind of paper filter with no luck. So if you do plan on trying this method, I’d recommend getting a superfine filter.

Because I am extremely stubborn, i refused to give up on this experiment and pulled out something I never really thought about using - a Brita water filter. I saw a video a while ago where someone poured Pepsi through a Brita water pitcher and the soda came out looking much clearer, so I figured why not give it a shot.
I poured my charcoal coffee mixture through there and the first pass separated most of the charcoal sediment from the coffee. It was still very gray and cloudy. I passed though again, and it got even clearer. The inside of the Brita was started to look pretty muddy from the charcoal so it appeared to be leaving the sediment behind, which was great … but also kind of disgusting so I definitely wiped this out before my next pass. When I poured it out you can see that it still had some brownish tint to it so I went for a 3rd pass. My the 3rd pass, the charcoal had been completely filtered out and only the clarified coffee remained. There is still a bit of a yellowish tint, so, as you can guess, I gave it one more pass. This removed some of the darker tints, though some of the yellow remained. But for my purposes, I was pretty pleased with the outcome.

This was my first successful attempt at clarifying and removing the color from coffee. Is it pretty stunning to see the contrast between a normal cup of coffee and this. But…to be honest, the charcoal did remove a lot of the taste from the coffee, so I wanted to try one last round in the Brita with just the milk clarified coffee and no activated charcoal, to see if that helped retain some of the flavor.
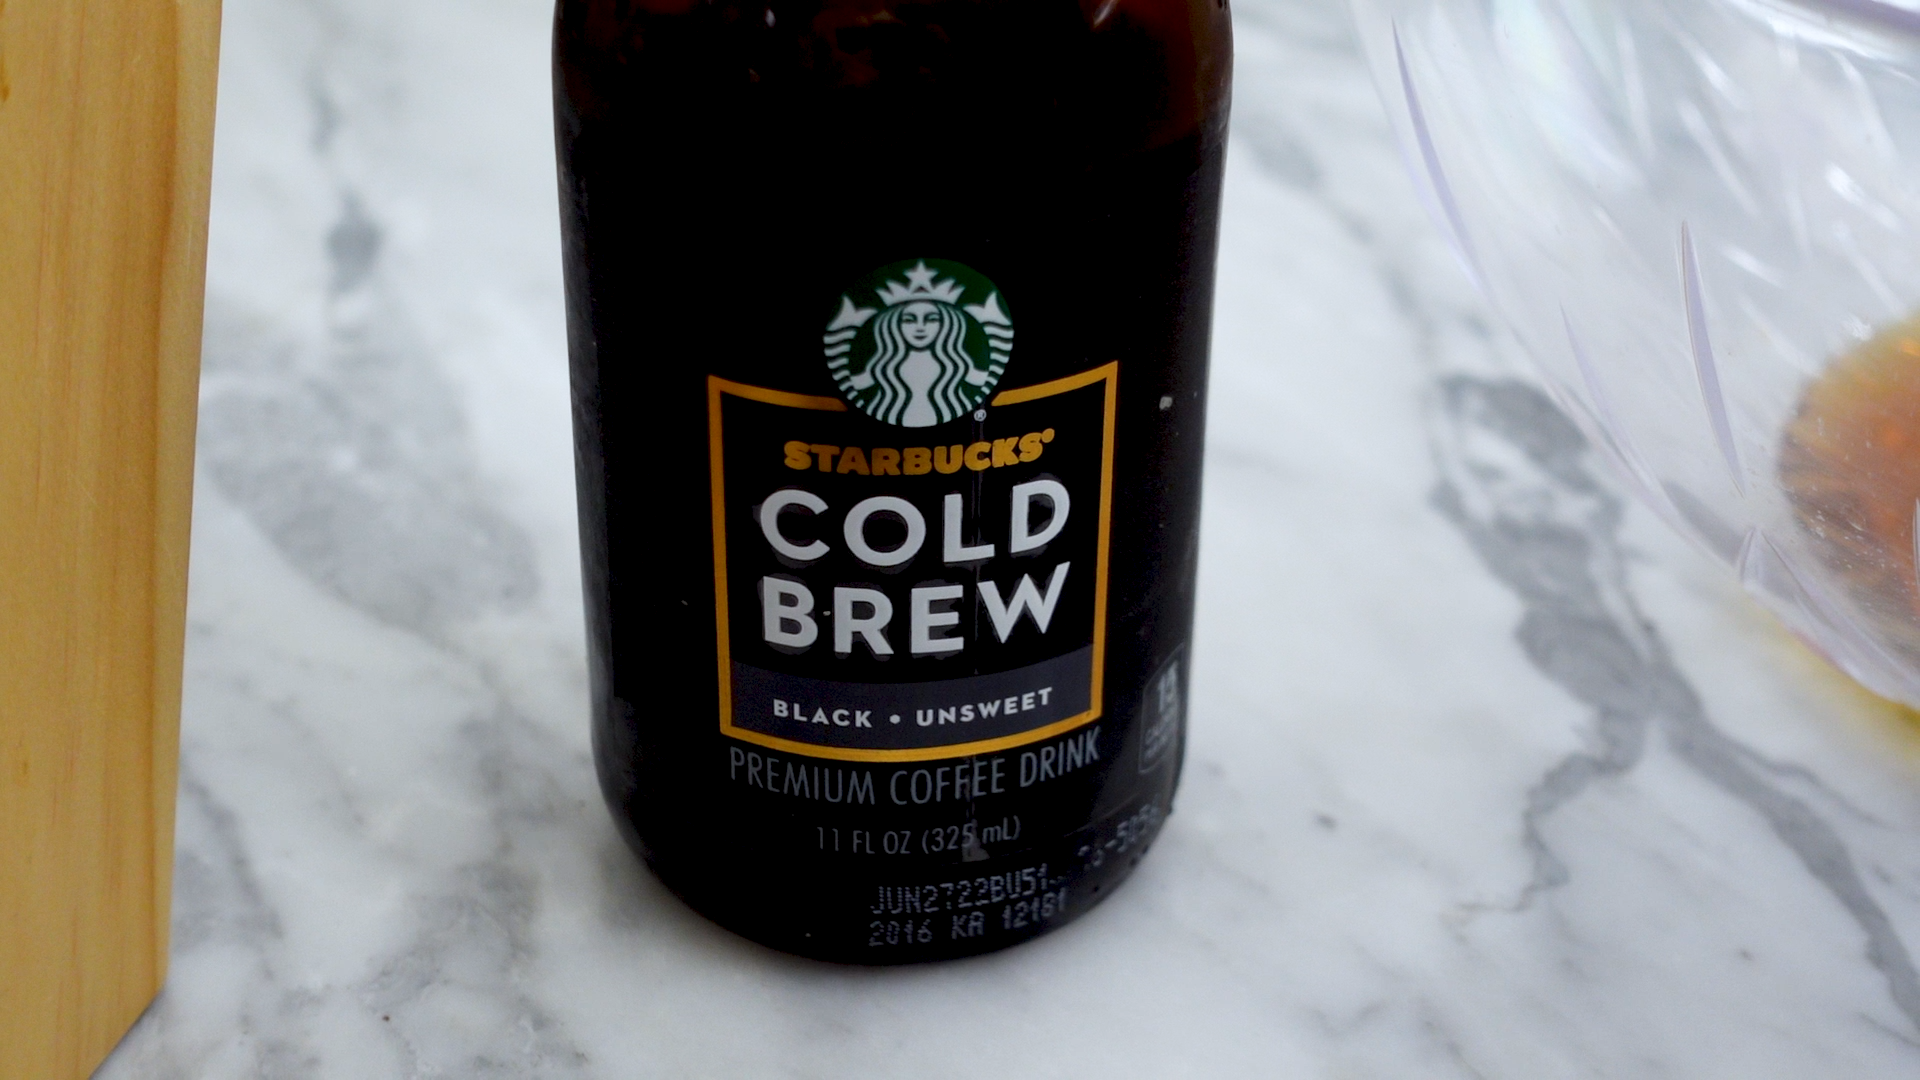
I couldn’t find the same nitro cold brew as the last time, so I used this plain Starbucks cold brew which was much easier to clarify than the nitro cold brew, even though it didn’t taste as strong. I repeated the entire process of the milk clarification and once it was clarified I poured it through the Brita again.
After passing it through the Brita filter twice, i was left with a very similar color to the charcoal clarified one, but with a bit more flavor. I also found that its beneficial to rinse the Brita filter between passes. This whole process would definitely benefit from starting with a brand new filter as well.
Just for fun, because I knew someone would ask- I did just pour the cold brew straight through the brita filter, and it started off coming out colorless but then eventually got darker. Though it was pretty clear…
And here we are- the clearest coffee that I could make at home, without any scientific equipment.
Ingredients:
1 Bottle Cold Brew Coffee
1 Cup Whole Milk
Pinch of Citric Acid
1 tsp Vanilla Extract
Method:
Heat milk in a saucepan over low heat. Once milk begins to froth, turn off heat and add coffee and citric acid. Let cool to room temperature. Pour the mixture through a nut ,ilk bag until it runs clear.
Pour the milk clarified coffee through a Brita filter twice.


